There are dozens of Namibia distance tables online and almost all of them are wrong in the same ways. They quote Google Maps times that assume legal speed limits on every road. They quote distances without telling you that 200 km on the C26 takes longer than 350 km on the B1. They list 'driving times' that no Namibian guide would actually book a day around. The matrix below is the version we use internally — adjusted for gravel speed, real fuel stops, and the days that should not be attempted at all.
On this page5
Why the standard distance tables get this wrong
Most Namibia distance tables are derived from the official Roads Authority figures and a Google Maps overlay. They assume you drive 120 km/h on tar (the legal limit) and 80 km/h on gravel (also the legal limit). In practice, no experienced Namibia driver does either. On the B1 between Windhoek and Mariental you can comfortably hold 110–120, but the moment you hit Otjiwarongo–Outjo or Outjo–Khorixas you slow to 90 because the road surface degrades. On gravel, the legal 80 is achievable on a fresh-graded C-road and dangerous on a corrugated D-road. Most international drivers settle into 60–70 km/h on the rougher gravel, which is honest.
The other thing standard tables miss is what we call 'arrival friction'. The last 10 km of any Namibia leg often takes 30 minutes — the lodge access road is washboard gravel, the gate is a kilometre off the main road, the signage is hand-painted, and you are driving slowly because you are looking. We add 20 minutes to every leg to account for this. It is the difference between arriving in time for sundowners and arriving after the kitchen closes.
Quick check
Is this you?
The matrix: realistic driving times between major stops
Times below are realistic door-to-door driving hours for a normal 2WD or 2x4 in dry conditions, including average stops but not extended sightseeing. They assume you start by 08:00 and never drive past sunset. Distances are the actual road kilometres on the recommended route, not crow-flight.
Read this as a planning tool, not a GPS. The exact route between two places sometimes matters more than the headline time — Windhoek to Sossusvlei via the C26 'Spreetshoogte' is shorter on the map but slower than the longer C24 via Rehoboth, and you will arrive grumpier. This matrix is built to show not just how long the leg is, but what kind of road day it actually is: easy tar, deceptive gravel, or a one-day idea you should kill before it ruins the trip.
- Windhoek → Swakopmund: 360 km via B2, 4.0 hours (fully tarred; one of the few Namibia legs Google Maps gets broadly right)
- Windhoek → Etosha (Anderson Gate): 480 km via B1/C38, 5.5 hours (mostly tarred; straightforward if you leave early)
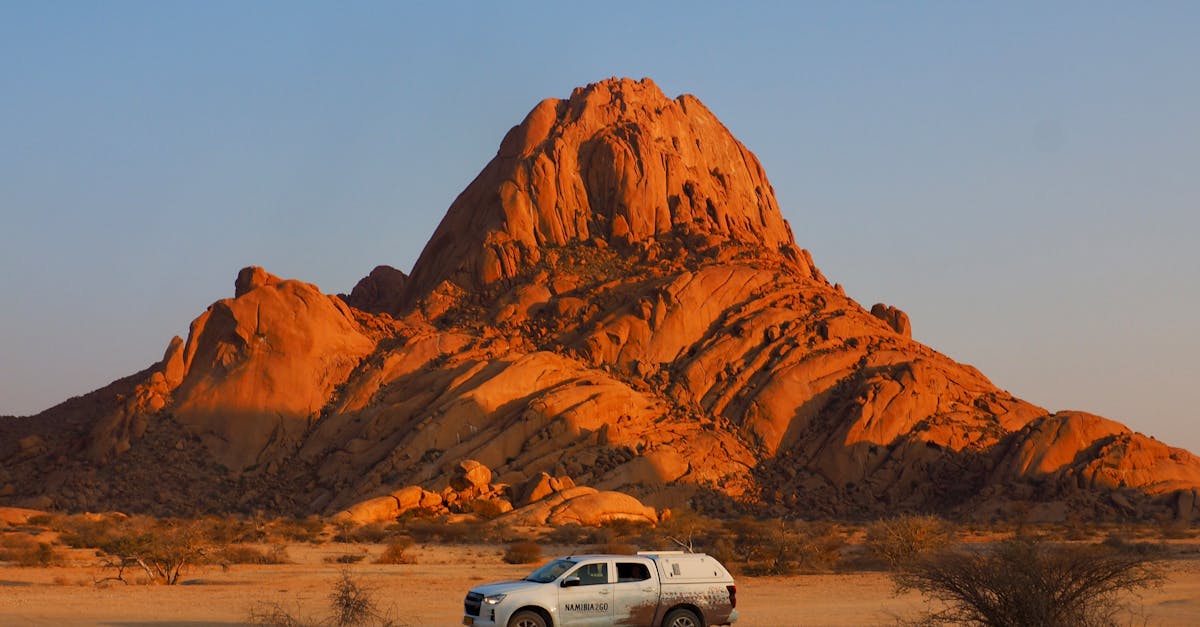
- Windhoek → Sossusvlei (Sesriem): 350 km via C24/C19, 5.0 hours (mixed surface, gravel from Rehoboth onward; slower than the distance looks)
- Windhoek → Waterberg: 300 km, 3.5 hours (mostly tarred; useful first-night split rather than a major drive day)
- Otjiwarongo → Etosha (Anderson Gate): ~110 km via C38, ~1.5 hours (fully tarred; practical staging leg if you split before the park)
- Tsumeb → Etosha (Von Lindequist Gate): ~90 km via B1/C38, ~1.25 hours (fully tarred; easiest east-Etosha approach)
- Sossusvlei → Swakopmund: 350 km via C19/C14/B2, 5–6h moving / ~7h door-to-door (mostly gravel; Google Maps under-times this leg by 60–90 minutes)
- Sossusvlei → Lüderitz: 540 km via Helmeringhausen, 7.0 hours (mixed surface; split at Helmeringhausen if you want the day to stay civilised)
- Swakopmund → Damaraland (Twyfelfontein): 360 km via C35, 5.0 hours (mostly gravel; easy to overestimate because the map looks clean)
- Swakopmund → Spitzkoppe: 150 km via B2/D1918, 2.0 hours (mostly tarred; easy support leg or half-day detour)
- Damaraland (Twyfelfontein) → Etosha (Anderson Gate): 280 km via C39, 4.0 hours (mostly gravel; honest if the road is dry and you do not linger at site stops)
- Damaraland → Etosha (Galton Gate, west): 250 km, 3.5 hours (mostly gravel; best west-to-west transfer for second-trip travellers)
- Windhoek → Hobas (Fish River Canyon): 700 km via B1, 7.5 hours (mostly tarred; do not do this in one day, overnight at Mariental or Kalahari Anib)
- Windhoek → Keetmanshoop: ~500 km via B1, ~5.0 hours (fully tarred; sensible southbound staging leg, not the end goal)
- Windhoek → Lüderitz: 830 km via B1/B4, 9.0 hours (mostly tarred; split at Keetmanshoop or Aus, full stop)
- Windhoek → Rundu: 700 km via B1/B8, 7.5 hours (fully tarred; long transit day, better split at Waterberg or Grootfontein if the trip is meant to feel like a holiday)
- Sossusvlei → Etosha: 720 km, 9.0 hours (mixed surface; never do this in one day, overnight in Windhoek or Damaraland)
- Swakopmund → Etosha (Anderson Gate): 580 km via B2/C38, 6.5 hours (mostly tarred; split at Outjo or Otjiwarongo if the day includes anything else)
- Swakopmund → Cape Cross: 125 km, 1.5 hours (coastal salt road / mixed surface; easy as a day trip, not as a major route day)
- Etosha (Namutoni) → Rundu: 480 km via B8, 5.5 hours (fully tarred; workable transit day into the Kavango corridor)
- Etosha (Namutoni) → Windhoek: 530 km via B1, 6.0 hours (fully tarred; possible in one day, but not pleasant if paired with park time)
- Hobas → Ai-Ais: 90 km via D324, 1.5 hours (gravel; short on paper but slower than many first-timers expect)
- Hobas → Lüderitz: 410 km via B4, 5.0 hours (mostly tarred; feasible if you leave the canyon area promptly)
- Keetmanshoop → Hobas: 170 km via C12, 2.5 hours (mixed surface; straightforward support leg into the canyon)
The legs you should never attempt in one day
The matrix above is mathematically possible. Some of it is operationally stupid. The following are legs we routinely warn travellers off, and that show up most often as broken days in the route reviews we do.
Sossusvlei → Etosha in one day is the worst offender. It is 9 hours of driving on a route that includes the windswept Naukluft, a fuel-thin stretch around Solitaire, and the long climb up the escarpment. Travellers attempt it because the map shows it as 'one driving day'. They arrive at Etosha after dark, miss the gate close, and spend the night at a roadside lodge in Otjiwarongo with no game viewing. The right answer is always a Windhoek or Damaraland night in between.
Windhoek → Hobas in one day is the second worst. 7.5 hours on the B1 in a single push leaves you at the canyon viewpoint at 16:00 too tired to walk to the rim. Break it at Mariental or Kalahari Anib and you arrive fresh.
Lüderitz → Sossusvlei in one day looks like 7 hours but the road via Helmeringhausen is gravel, exposed, and crosses several wind-prone sections. Helmeringhausen Hotel exists for this exact split.
- Sossusvlei ↔ Etosha — always overnight in Windhoek or Damaraland
- Windhoek ↔ Fish River Canyon — always overnight in Kalahari (Mariental, Bagatelle, or Kalahari Anib)
- Lüderitz ↔ Sossusvlei — always overnight at Helmeringhausen or in the Maltahöhe area
- Windhoek ↔ Caprivi (Katima Mulilo) — 2 days minimum, ideally with a Waterberg or Rundu split
- Anywhere ↔ Kaokoland (Sesfontein, Purros) — 2 days minimum from anywhere south of Etosha
Fuel stops: the unwritten map
Drive times assume you can fuel when you need to. Several routes break this assumption. The C14 between Sesriem and Solitaire has one fuel point at Solitaire, which is reliable but small. The C39 between Khorixas and Palmwag is 130 km with no fuel — Palmwag has a single pump that occasionally runs dry. The D2620 between Sesfontein and Purros has no fuel at all; Sesfontein is the last fill-up, and Purros has no station.
On the southern loop, Aus is the last fuel before Lüderitz (110 km), and Karasburg is the last reliable fuel before the Vioolsdrif border crossing into South Africa. Hobas does not sell fuel. Ai-Ais sells fuel sometimes — never plan around it. Grünau (B1/B3 junction) is the safest 'always full' fuel stop in the south.
Carry a 20L jerry can on any route that includes Damaraland north of Twyfelfontein, the Skeleton Coast, or anywhere in Kaokoland. For the classic 14-day loop, you do not need extra fuel — but you do need to fuel at every station you pass on the C39 and C40, even if you have half a tank.
Adjustments by season and vehicle
Wet season (December to April) adds 20–30% to gravel times. Washouts on the D2612 (Twyfelfontein road) and the C39 happen every wet season; the Roads Authority closes the road for hours or days. The Tsauchab river crossing on the way to Sossusvlei occasionally cuts the road in February–March (we cover this in the flooding article). Always check ra.org.na the morning of a long drive in green season.
Vehicle matters less than people expect on the standard routes. A normal 2WD does the entire 14-day classic loop in dry conditions. A 4x4 saves you 10–15% on the rougher gravel because you can hold a higher comfortable speed, not because you can take shortcuts. The exception is the final sand stretch into Sossusvlei — a 2WD must use the shuttle from the 2x4 parking, which adds roughly 45 minutes to the morning.
Group size adds time. Two adults in a vehicle drive close to the matrix times. Four adults add 30 minutes per day in stops. Families with children under 10 add 60 minutes per day in stops. We plan family routes against the family-adjusted matrix, not the headline figures.
Frequently asked questions
Why are these times longer than Google Maps?
Google Maps assumes legal speed limits on every road — 120 km/h on tar, 80 km/h on gravel — and adds nothing for stops or arrival friction. In practice, experienced Namibia drivers average 100 km/h on tar and 60–70 km/h on rougher gravel. The 30–60 minute gap per leg compounds across a 14-day trip into a different kind of holiday.
What is the longest Namibia drive I should plan in a single day?
Five hours of driving is the comfortable ceiling for a holiday day. Six hours is acceptable for a transit day with no sightseeing. Seven hours is the absolute maximum and breaks the no-driving-after-dark rule that most car-hire insurance excess waivers depend on. Anything beyond that should be split across two days, full stop.
Can I drive Sossusvlei to Etosha in one day?
Technically yes, in 9 hours. Operationally no. Travellers who attempt this arrive at Etosha after dark, miss gate close (sunset, strictly enforced), and spend the night at a Otjiwarongo roadside lodge with no game viewing. Always overnight at Windhoek, Damaraland, or Outjo between these two regions.
Do I need to bring extra fuel for a 14-day classic Namibia loop?
No, the standard 14-day Sossusvlei–Swakopmund–Damaraland–Etosha loop has reliable fuel at every overnight stop. Fuel at every station you pass on the C39 (Khorixas–Palmwag) even with a half tank, but a jerry can is overkill. Bring a 20L jerry only if your route includes Kaokoland, the Skeleton Coast north of Möwe Bay, or the deeper Damaraland tracks beyond Palmwag.
Are these times the same in green season (November–April)?
Add 20–30% to all gravel times in green season. Wet weather softens road surfaces, washouts close roads (especially the D2612 and the C39), and the Tsauchab can flood the road into Sossusvlei in February–March. Check the Namibia Roads Authority site (ra.org.na) for road conditions on the morning of any long drive in green season.
Final verdict
If you are sketching a Namibia route and want to know whether your day plan is honest, this matrix is a fair first check. If you want us to pressure-test it against the actual lodges, fuel stops, and your group composition, that is the work an itinerary review does properly.
Want your route checked against this matrix?
We pressure-test draft Namibia itineraries against the realistic drive times, fuel reality, and lodge gate-close rules. The cheapest way to find out a day is broken — before you book it.
Your draft, our second opinion
Get the risky parts checked before you book.
- Drive times, gate timings and lodge order checked against what actually works on the ground.
- Written report with the specific things to swap, keep, or rebook — not generic advice.
- Fixed price, fast turnaround, no commissions — same team for the review and any follow-up planning.
Same team, fixed prices, no commissions.